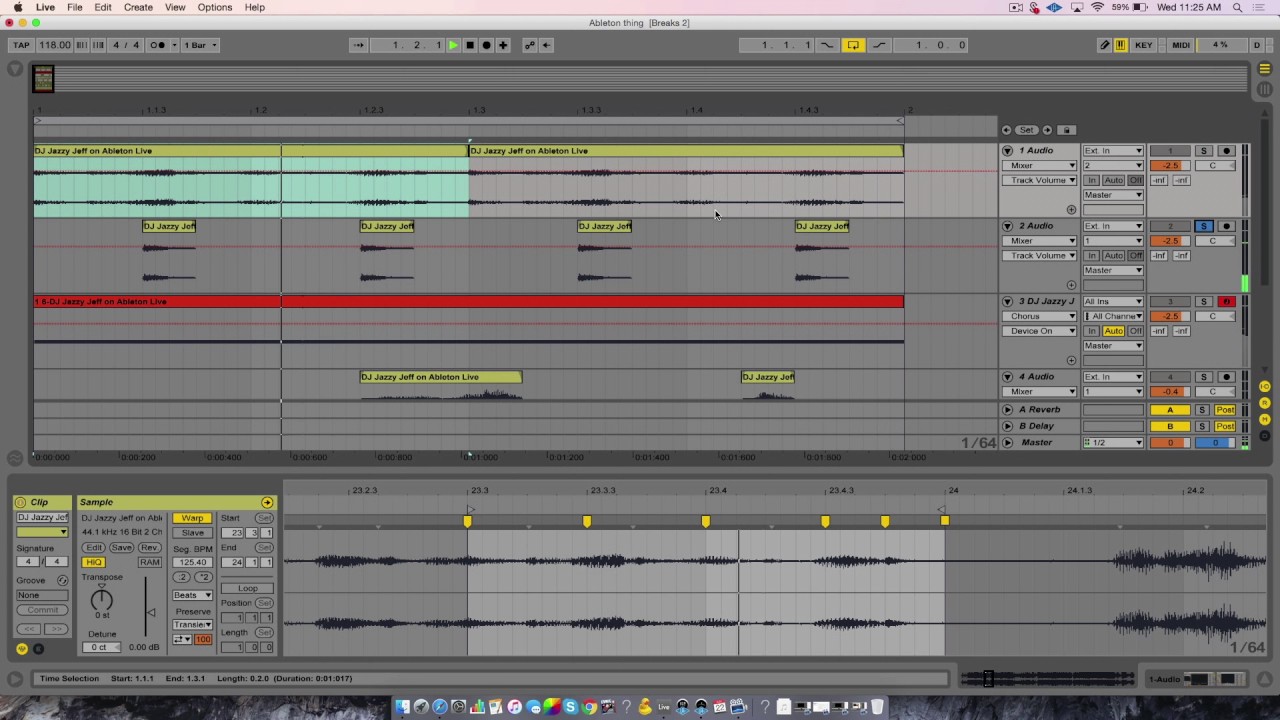


Chopping Samples in Ableton with Underbelly
Éclat Part 144
 eclatcrew | July 15, 2025
Tonight's challenge and our guest curators come from the Éclat community! Every sample in this sample pack was handcrafted by @rara.lalalalala and JC using tools like contact mics, toys, water, salt, effect paddles and an ear for chaos.
This sample pack that was cooked up only recently within a workshop hosted by paradisemustbenice Festival. The Focus of the workshop was noisy ambience. In addition to sharing their beautiful studio and all it´s hardware with us, pmbn taught us a few easy tricks to mess around with sound in ableton. After a lot of theoretical input we concluded with recording a session of t4t foolery, one person playing with water and toys while the other turned knobs and wreaked havoc on the signal (then switching, of course).
What resulted is a landscape of underwater ghosts, gentle dripping and ultra-saturated frequencies from beyond. The wheel spins and this is what a monkey sounds like from inside a submarine. Probably.
Unfortunately, a limiter did not make it in the mix so please enjoy with caution (ie: samples may be loud)
Download the samples for today's challenge here!
Todays challenge is to create a +- 2 minute track using only the provided sample pack. If you're looking for inspiration or are curious of the outcome of the pmbn workshop check out this collected playlist.
Upload your track by 20:30 CEST to this Google Drive folder! Rejoin the Zoom call at 21:00 for our listening session.
Extra treats from JC!
The next Part is not mandatory for todays challenge but I thought someone might appreciate my workshop notes on two simple tools for audio-fuckery within ableton. Feel free to try them out and let me know if you have any questions!
FEEDBACKLOOP
Load a sample or a mic on Track 1, set output to “sends only”, turn up Send A knob
Delete preset audio effect from Return A channel, set Return A output to Track 2
On Track 2, add a limiter, set monitor to "auto", arm recording button, turn up Send A. Play with the gain of limiter to adjust intensity of feedback. Please be very careful and start with a low gain to save your ears. Play around with the parameters and record to track 2.
DRONE
On MIDI track 1, add a synth (eg: "operator") & create a simple midi file with one long looping note.
Set output to an Audio track (Track 2)
On Track 2, set Input: Track 1, set monitoring to "auto", arm recording, add Reverb audio effect
Here you will find three buttons, right between "decay" and "stereo"

FREEZE:
disabled: nothing
enabled: freezes the sound at that point
CUT
enabled: no additional sounds enter freeze
disabled: sounds of the playing sample are added into freeze
FLAT
enabled: high and lowpass filter do not affect sound of freeze (meaning the filter within the reverb audio effect)
disabled: high and lowpass filter affect sound of freeze
Record into track 2 while playing around with parameters!
Next Step DRONE: make an instrument out of it in Audio Effect Rack
-> right click on REVERB, then GROUP to create an audio effect rack
-> open MACROS and map them to whatever parameters of the REVERB you want to control
for example : [freeze], [cut], [flat], Dry/Wet
another example: frequency and intensity of input filter (this will change the effect of [flat])
-> play around, add for example auto filter into audio fx rack (goes very well with the sound of drones)
-> record and have fun :)
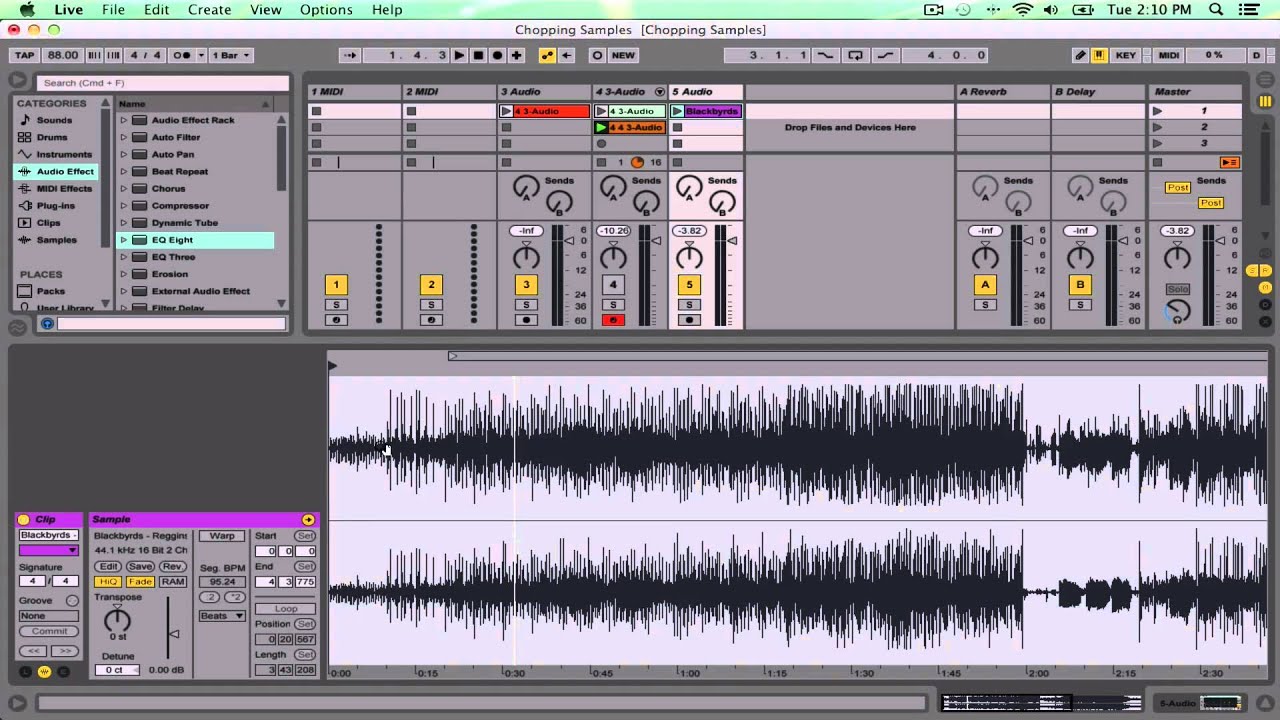
For ideas on using samples in your tracks, check out the tutorials below!